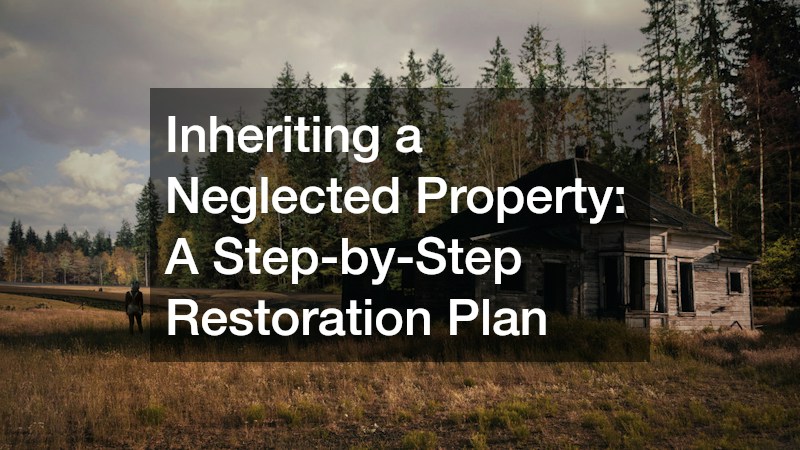
Inheriting a property is a deeply emotional experience, occurring alongside personal loss while navigating probate. When an inherited home suffers from years of deferred maintenance, emotional weight merges with a practical challenge. Aging relatives frequently lack the physical capacity or financial resources needed for routine upkeep, leaving beneficiaries responsible for a house marked by overgrown grounds, failing rooflines, outdated mechanical utilities, and interior clutter. Facing a project of this scale can leave even experienced homeowners feeling overwhelmed.
Phase One: Triage and Site Stabilization

Controlling Indoor Hazards and Moisture
The top priority when stepping into a vacant residence is executing a safety assessment. Before turning on electrical breakers, evaluate the building for physical hazards. Extended vacancies invite hidden plumbing leaks or roof breaches that foster rapid organic growth and timber rot. Basements and crawl spaces should be inspected with flashlights and moisture meters to gauge framing saturation.
When standing water saturates building materials over prolonged periods, degradation accelerates throughout lower structural levels. Hiring certified specialists trained in water damage cleanup is critical for extracting standing water, operating dehumidification equipment, and removing ruined drywall and subflooring before mold spores spread. Attempting to dry out deeply saturated materials using basic fans delays remediation.
-
Foundation Wall Alignment: Examine interior masonry walls for horizontal cracking or inward bowing from lateral soil pressure.
-
Floor Joist Assessment: Inspect subfloor framing and rim joists for soft spots, fungal decay, or insect damage.
-
Support Post Verification: Confirm vertical basement support columns are plumb, seated on solid footings, and free from rot.
Clearing Overgrown Perimeter Vegetation
Exterior neglect presents structural hazards just as damaging as internal plumbing leaks. Over several years, unmanaged trees expand rapidly, driving heavy branches against rooflines, clogging gutter channels, and pushing root networks into foundation walls. Dense foliage resting against siding traps moisture, accelerating decay and creating pathways for pests to penetrate the exterior envelope.
Outside the residence, neglected foliage creates severe overhead hazards that demand professional rigging and cutting machinery. Partnering with an insured tree removal company enables you to eliminate dead limbs overhanging the roof, open the building canopy to sunlight, and establish safe clearance zones for delivery trucks. Clearing heavy branches stops leaf accumulation on roof valleys, allowing the shell to dry naturally following storms.
-
Foundation Perimeter Clearance: Cut back brush to create a clear five-foot work buffer around exterior walls.
-
Ground Grading Adjustment: Clear accumulated leaf mulch away from siding, ensuring soil pitches away from foundation walls.
-
Property Line Clearance: Clear overgrown boundary fences to expose accurate property lines for land surveyors.
Phase Two: Securing the Building Envelope
Waterproofing Roof and Overhead Structures
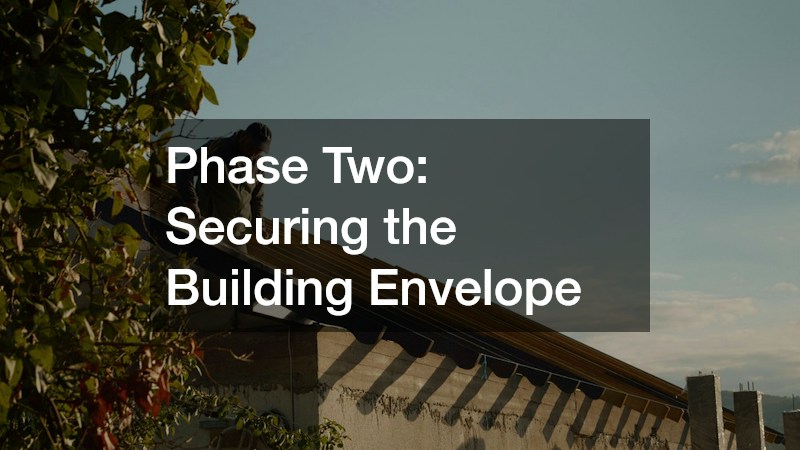
With the site stabilized and surrounding trees cleared, direct attention to making the building shell completely watertight. A building cannot be restored from the inside out if rainfall or melting snow breaches the roof deck. Missing shingles, deteriorated valley flashing, and cracked pipe boots are common in neglected real estate, causing concealed timber rot and destroying interior finishes.
Restoring interior living areas before securing the overhead envelope causes financial loss, making roof repairs your primary structural objective. Before spending money on interior framing or drywall, hire a licensed roofing company to inspect the roof deck, underlayment, flashings, and shingle layer. Repairing or replacing a compromised roof structure ensures that all subsequent interior investments remain dry and protected against seasonal weather.
-
Seamless Gutter Installation: Install heavy-gauge seamless aluminum gutters along fascia boards to collect peak rainwater without overflowing.
-
Downspout Extension Layout: Run downspout discharge lines at least six feet away from footings using rigid underground drain pipes.
-
Drip Edge Integration: Ensure metal drip edge flashing extends under the initial shingle course to protect fascia boards.
Restoring Driveways and Site Access
A safe, functional property exterior relies on stable ground surfaces to support intense construction traffic. Years of freeze-thaw cycles, tree root expansion, and unmanaged runoff wreck asphalt driveways and concrete access paths. Broken, uneven driveways present trip hazards for workers and damage heavy vehicles transporting lumber, tools, or disposal containers. Restoring stable hardscaping early ensures that construction logistics proceed smoothly.
Decades of severe weather and neglected drainage reduce driveways and entry paths to cracked, hazardous surfaces. Hiring established paving companies ensures that damaged asphalt or concrete is excavated, sub-graded with aggregate, and resurfaced to withstand heavy contractor truck traffic. Professional paving methods also correct surface pitch issues, preventing rainwater from pooling around garage doors or basement window wells.
-
Material Staging Zones: Designate a flat, well-drained section of the driveway for storing framing lumber and masonry supplies.
-
Utility Line Identification: Request local utility line markings before placing heavy containers or driving machinery across lawn areas.
-
Worker Parking Rules: Establish clear parking guidelines for subcontractors to preserve access for emergency vehicles.
Phase Three: Mechanical and Utility Restoration
Inspecting Underground Waste Systems
Once the building shell is sealed against rainwater, mechanical utility reconditioning must take precedence over interior room upgrades. Waste disposal infrastructure carries the highest risk of catastrophic damage if ignored. Main sewer pipes and waste stacks are frequently blocked by invasive tree roots, collapsed clay tiles, or grease buildup. Testing these lines under load is vital before connecting new plumbing fixtures.
Mechanical systems in vacant homes demand rigorous evaluation before connecting plumbing fixtures to interior waste stacks. For properties operating on private waste systems, engaging specialized septic services to pump storage tanks, inspect baffle tees, and evaluate drain field absorption capacity prevents sewage backups during renovation phases. Identifying a failing drain field early allows you to allocate funds for repairs before finishing interior wall surfaces.
-
Galvanized Pipe Removal: Replace corroded galvanized steel supply pipes with modern PEX or copper lines to ensure strong water pressure.
-
Main Shut-Off Valve Upgrade: Replace sticky gate valves at the main water entry point with quarter-turn ball valves for rapid emergency shut-off.
-
Drain-Waste-Vent Testing: Inspect cast-iron stack pipes for crack lines, deteriorated lead joints, or rooftop vent blockages.
Overhauling HVAC and Climate Control
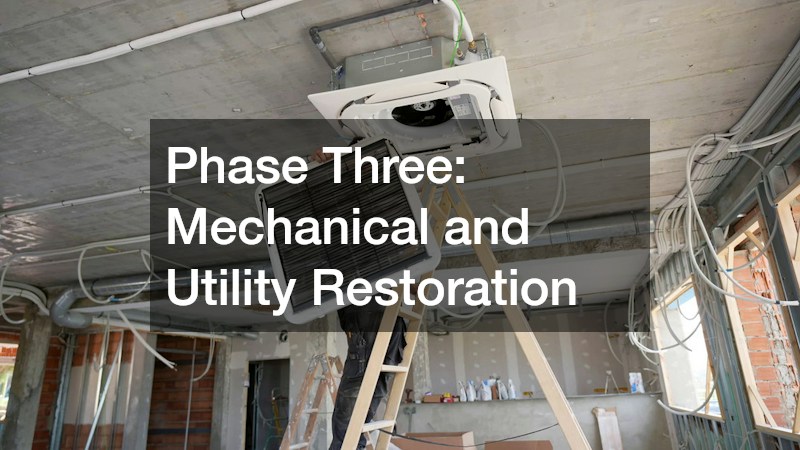
Neglected heating, ventilation, and air conditioning systems drive high utility costs, poor comfort, and hazardous indoor air quality. Leaving equipment inactive for years allows dust, pest droppings, and rust to accumulate within air handlers and ductwork channels. Heat exchangers in older gas furnaces can rust through, leaking carbon monoxide into living quarters when fired up after extended downtime. A mechanical overhaul guarantees safe climate control throughout the renovation.
Heating and cooling equipment in neglected properties frequently suffers from heat exchanger rust, electrical failure, or ductwork contamination. Contracting a complete HVAC service is necessary to clean duct runs, inspect heat exchangers for safe operation, and calibrate or replace aging equipment before closing up drywall. Installing modern high-efficiency heat pumps or variable-speed furnaces reduces ongoing operational expenses, making the home comfortable and affordable to run.
-
Ductwork Mastic Sealing: Seal sheet metal duct joints and boot connections with paint-on mastic to prevent conditioned air from escaping.
-
High-Efficiency Air Filtration: Retrofit return air cabinets to hold thick media filters, capturing fine construction dust and airborne allergens.
-
Smart Thermostat Installation: Install programmable smart thermostats to allow remote climate monitoring, protecting interior plumbing from freezing.
Phase Four: Debris Management and Energy Efficiency
Managing Site Cleanout and Waste
With main structural repairs completed and utility systems verified, focus on clearing out accumulated interior clutter and building waste. Inherited homes are often filled with damaged furniture, personal trash, saturated carpets, and toxic household chemicals stored in basements or detached sheds. Working around excessive clutter slows down tradespeople, creates serious fire hazards, and hides structural wall defects from view. A systematic cleanout strategy is crucial for establishing a safe working environment.
Decades of accumulated household possessions, water-damaged drywall, and demolished building materials produce massive trash volumes that require efficient removal strategies. Securing several roll-off dumpster rentals enables your crew to clear rooms systematically, keeping access pathways safe and preventing structural floor overload from piled debris. Having continuous waste container capacity on site speeds up demolition work and keeps the entire job site clean and organized.
-
Personal Property Staging: Reserve a secure, dry room within the house for sorting legal papers, family photo albums, and heirlooms.
-
Hazardous Waste Separation: Remove oil-based paints, lawn fertilizers, motor oils, and mercury devices for proper disposal at municipal drop-offs.
-
Scrap Metal Recycling: Separate copper piping, cast-iron radiators, and metal ductwork to sell at local scrap yards, offsetting disposal fees.
Sealing Thermal Barriers and Air Envelope
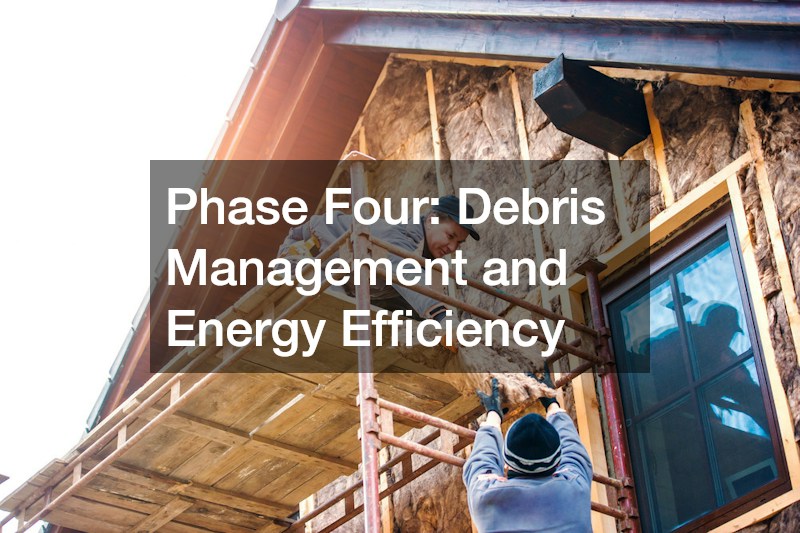
Older, neglected houses were built under obsolete building standards that paid little attention to air sealing or thermal insulation efficiency. Over time, existing fiberglass insulation settles, becomes infested by pests, or absorbs moisture, leaving wall cavities and attic floors uninsulated. Unsealed air leaks around rim joists, electrical penetrations, ceiling light fixtures, and window frames allow conditioned air to escape rapidly, driving energy bills up while creating uncomfortable drafts.
Neglected homes are drafty, suffering from high heating bills and uneven room temperatures that surprise new occupants during their first winter. Installing expanded spray foam insulation inside exposed wall cavities, rim joists, and attic access areas seals air leaks completely, creating a tight building envelope that lowers monthly utility costs. The expanding foam fills irregular framing gaps found in older construction, adding structural rigidity while dampening exterior traffic noise.
-
Rim Joist Sealing: Encapsulate perimeter basement band joists with foam insulation where floor framing sits on foundation walls to block cold air entry.
-
Attic Bypass Sealing: Apply expanding foam around recessed ceiling lights, plumbing vent stacks, and chimney chases before insulating attic floors.
-
Window Rough Opening Sealing: Fill narrow gaps between window frames and wall studs using low-expansion foam sealants engineered for framing.
Phase Five: Strategic Interior Modernization
Upgrading Kitchens for Function and Value
Once the residence is structurally sound, watertight, thermally efficient, and powered by safe mechanical systems, you can initiate interior room finishing. Among all interior living spaces, the kitchen stands out as the single most important room for establishing market value and practical daily enjoyment. In neglected real estate, kitchens are usually dark, claustrophobic, and filled with broken cabinetry and obsolete appliances. Modernizing this central space requires balancing open layout design with durable surfaces.
With mechanical utilities and structural systems fully updated, investment shifts to high-impact interior spaces that drive home value. Planning strategic kitchen updates—such as installing solid quartz counter surfaces, opening layout sightlines, and refacing original hardwood cabinet boxes—delivers high financial returns while transforming the kitchen into a modern centerpiece. Creating an efficient work triangle between the sink, refrigerator, and range ensures the space functions smoothly for daily meal preparation.
-
Cabinetry Refacing: Restore sturdy original hardwood cabinet boxes with new soft-close door fronts, drawer slides, and metal hardware to cut cabinet expenses.
-
Durable Countertop Selection: Install non-porous quartz or granite counter surfaces that resist heat, staining, and scratch damage over decades of routine use.
-
Under-Cabinet Lighting: Install low-voltage LED strip lights underneath upper wall cabinets to illuminate prep counters and eliminate dark shadows.
Redesigning Bathrooms for Safety and Comfort
Bathrooms in neglected properties are primary locations for concealed water damage, timber rot, and hazardous fixture arrangements. Years of micro-leaks around tub surrounds, failing toilet seals, and unvented steam can turn subfloors to pulp and foster hidden mold growth behind wall tiles. Modernizing an outdated bathroom requires far more than installing a new vanity; it demands rebuilding floor and wall waterproofing layers from the framing up to resist daily humidity.
Outdated bathrooms routinely hide structural subfloor damage, poor ventilation, and restrictive floor plans that hinder usability. Executing a full bathroom remodeling project allows you to replace rotted subfloor panels, install waterproof tile backer boards, and fit out walk-in shower spaces with modern water-saving plumbing fixtures. Adding curbless shower entries, built-in tile niches, and radiant floor heating transforms a cramped bathroom into an inviting, accessible space.
-
Waterproof Membrane Application: Apply liquid or sheet waterproofing membranes over cement backer boards in wet shower zones before setting tile.
-
Sensor-Controlled Ventilation: Mount quiet exhaust fans wired to automatic humidity sensors to pull steam outdoors before moisture condenses on ceiling surfaces.
-
Curbless Shower Framing: Recess shower floor framing to build zero-threshold shower entries that enhance accessibility and safety for all age groups.
Restoring an inherited, severely neglected house is a major commitment, but it is also one of the most fulfilling projects in residential real estate. What starts as a daunting burden can be systematically transformed into a crown jewel of personal pride or financial independence. The key lies in maintaining sequence control: stabilizing the building shell, upgrading mechanical utilities, and sealing the thermal envelope before touching cosmetics.