Upholstered wall panels are a versatile and stylish way to elevate the aesthetics of any room. Whether you want to add a cozy backdrop to your bedroom, create a sophisticated accent in your living room, or even spruce up your office space, these panels offer a customizable solution that combines elegance and functionality.
In this guide, we’ll take you through the step-by-step process of creating and installing DIY upholstered wall panels to transform your space.
Understanding Upholstered Wall Panels
Upholstered wall panels serve both aesthetic and practical purposes. They add a layer of texture and visual interest to plain walls and contribute to sound insulation and room acoustics. Typically ranging from 12 to 15 inches in height and 30 to 45 inches in length, these panels can be customized to fit any wall space, from expansive living room walls to cozy bedroom corners.
Step 1: Planning and Preparation
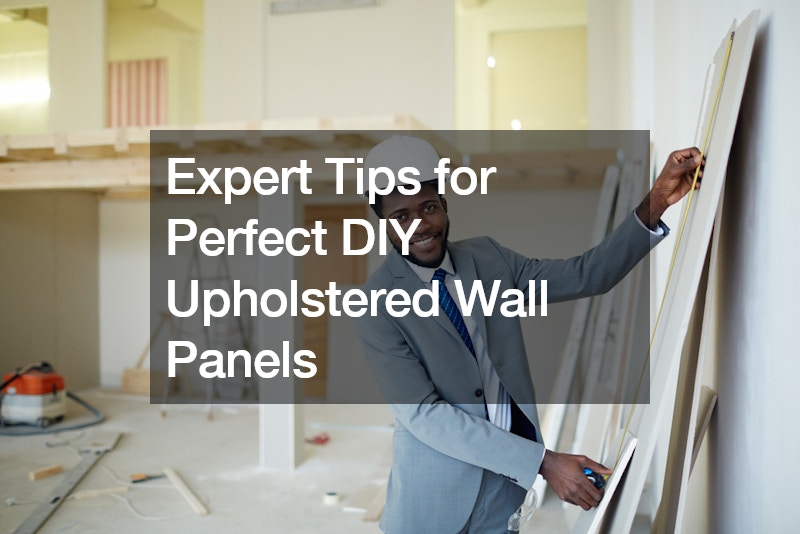
Before diving into the DIY project, planning and measuring your space accurately is crucial. Start by determining the dimensions of the area where you intend to install the upholstered wall panels. Measure both the height and width of the wall to calculate how many panels you’ll need and their appropriate size.
For instance, if your wall is 8 feet tall, dividing the height by 4 might yield panels of around 18 inches in height, ensuring they are proportionate and visually appealing. Each panel should ideally have a gap of about half an inch between them to accommodate the upholstered foam and batting.
Step 2: Material Selection
Choosing the right materials is essential for achieving professional-looking upholstered wall panels. Opt for quality wood panels like OSB (Oriented Strand Board) for the backing, ensuring they are sturdy and suitable for mounting. Pine boards or similar materials are ideal for creating vertical mounting boards to support and frame each upholstered panel.
Step 3: Cutting and Mounting the Panels
Once you have your materials ready, cut the wood panels to the desired size using a table or circular saw. Ensuring precise measurements is crucial to achieving a uniform look across all panels is crucial. For example, if your wall requires four panels, each measuring 40 inches in width, cut the wood accordingly to accommodate the upholstered layers.
Mounting the panels involves securing the vertical mounting boards to the wall. Use a stud finder to locate studs for secure attachment, or use wall anchors for stability. Position these boards vertically about 3 to 4 inches from the edges of each row of panels, ensuring they are level and straight.
Step 4: Upholstering the Panels
The upholstery process begins with applying polyurethane foam and polyester batting to each wood panel. Start by spraying adhesive on the panel’s surface and then carefully laying down the foam, leaving some excess to trim later. The foam provides a soft, cushioned base for the fabric and enhances sound absorption properties.
Next, wrap the polyester batting over the foam-covered panel, ensuring it extends slightly beyond the edges to create a smooth finish. Secure the batting and foam in place with staples, ensuring they are evenly distributed to prevent lumps or wrinkles in the fabric.
Step 5: Fabric Selection and Application
Select a decorative fabric that complements your room’s decor and style. Fabrics with a tight weave work best to ensure a smooth appearance once upholstered. Lay the fabric face down on a flat surface and position the upholstered panel over it, allowing enough excess fabric on all sides to wrap around the edges.
Carefully stretch and pull the fabric taut over the panel, starting from the center and working towards the edges. Secure the fabric with staples along one edge first, then pull it tightly across the opposite edge and staple again. Continue this process for the remaining sides, adjusting the tension to achieve a uniform, wrinkle-free surface.
Step 6: Installing the Panels
With the fabric securely attached, it’s time to install the upholstered wall panels onto the mounted vertical boards. Each panel has invisible bow clips that allow easy attachment and removal. Simply align the male and female parts of the bow clips and press the panels into place until they snap securely.
Label each panel beforehand to ensure they are installed in designated spots for a seamless fit. The bow clips provide a strong hold while allowing flexibility for adjustments or panel removal when needed.
Step 7: Final Touches and Maintenance
Once all panels are installed, inspect them for adjustments. Trim any excess fabric or batting visible around the edges for a clean finish. Regularly vacuum or lightly brush the panels to remove dust and maintain their appearance over time.
Conclusion
DIY upholstered wall panels offer a creative and rewarding project that can significantly enhance the ambiance of your living space. By following these steps and using quality materials, you can create custom-designed panels that reflect your style and transform ordinary walls into stunning focal points. Whether you’re a seasoned DIY enthusiast or tackling your first project, upholstered wall panels provide an accessible and impactful way to upgrade your home decor.
.